


SPECIFICATIONS
Brand Name: YORYZENG
Certification: ce
Choice: yes
Feature: 395nm 400nm
Feature 2: LED Stage Blacklight
Feature 3: Ultraviolet lamps
Features: Led UV Floodlight
High-concerned chemical: none
Is Batteries Included: No
Is Bulbs Included: Yes
Is Smart Device: no
Item Type: Ultraviolet lamps
Luminous Flux: 249-2000
Model: Fluorescent Party Stage Light
Model Number: B-49
Origin: Mainland China
Power Source: AC
Voltage: 220 V
Warranty: 3 YEARS
Wattage: 50W / 100W
semi_Choice: yes
Led Uv Floodlight 50w 100w 395nm Fluorescent Party Stage Light Germicidal Lamp 100watt Floodlights 240v Ultraviolet Curing Ozone

Specification:
* 220V UV Floodlight
* Waterproof
* Luminous Efficiency 50W (50leds) / 100W (96leds)
* UV Wavelength: 395-400nm
* UV-A level: No harm to human body and eyes




Subject: Installation Instructions for Your LED Light
Dear Customer,
Thank you for your purchase! To ensure a smooth and safe installation of your new LED light, please follow the instructions below:
⚠️ SAFETY FIRST:
Before starting any installation, please ensure the power is TURNED OFF at the main circuit breaker.
🔌 Wiring Instructions:
This light operates on 220V and follows international standard wiring colors:
Brown Wire: Connect to the Live (L) wire from your wall.
Blue Wire: Connect to the Neutral (N) wire from your wall.
💡 Important Note Regarding the Ground Wire:
You may notice that this light fixture does not have a ground wire (yellow/green). Please be assured that this will completely NOT affect the usage or safety of the light.
This product is designed with double insulation/isolated power, meaning it does not require a ground wire to operate safely.
(If your house wiring has an extra ground wire, please simply wrap the end of it securely with electrical tape and leave it unconnected.)
🛠️ Installation Steps:
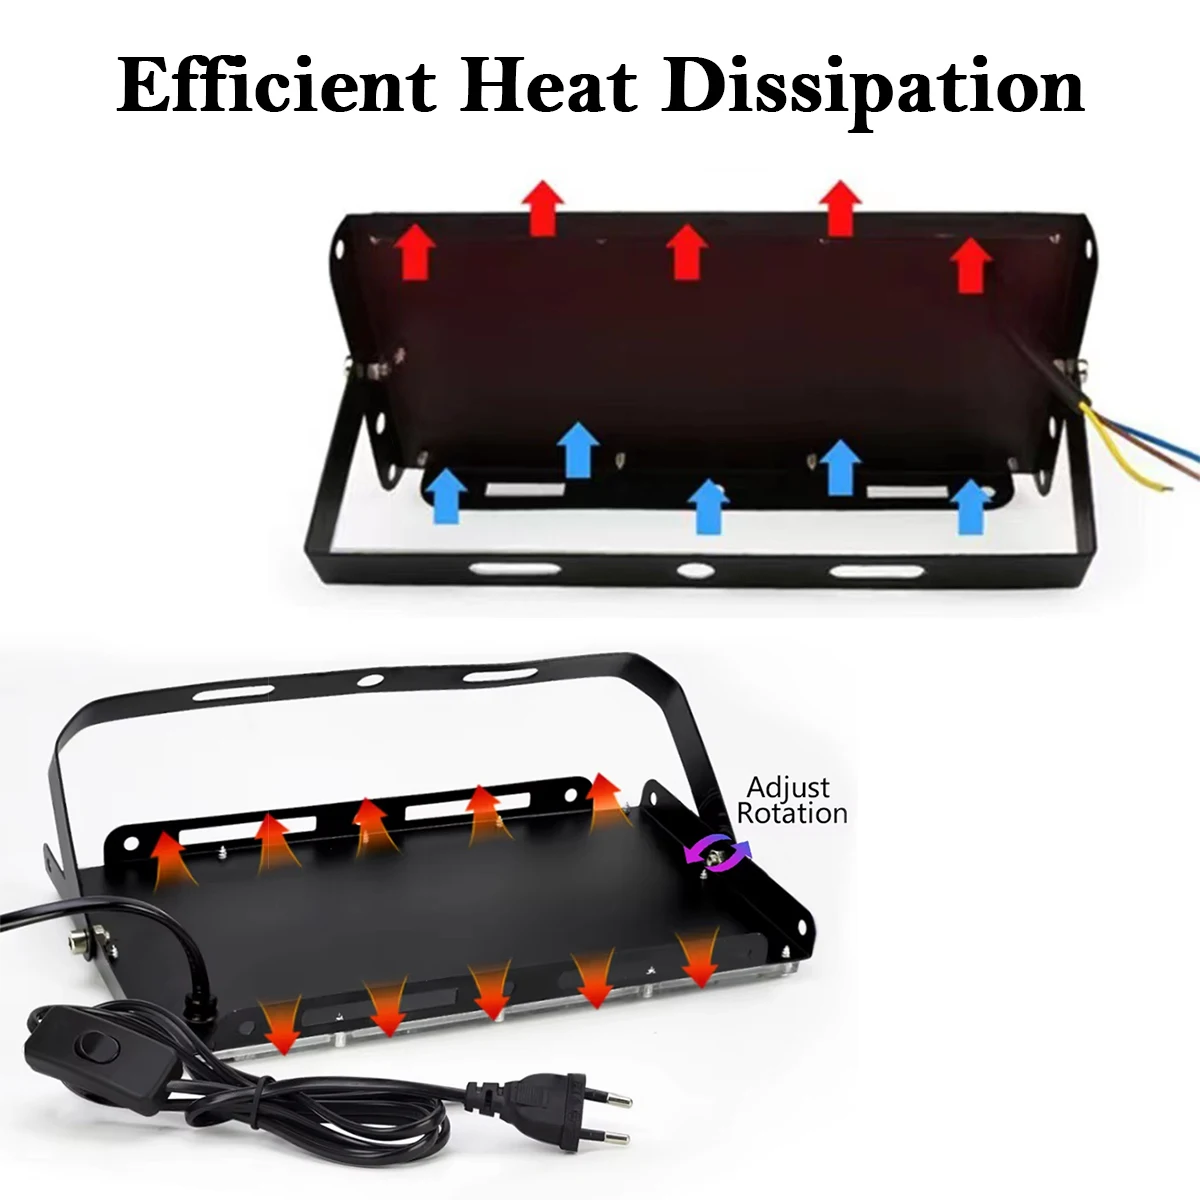
Detach the bracket: Remove the screws on both sides of the light to separate the U-shaped metal mounting bracket.
Mount the bracket: Fix the U-shaped bracket securely to your wall or ceiling using screws.
Connect the wires: Connect the Brown and Blue wires as instructed above. Make sure all connections are tightly secured and wrapped with electrical tape or wire connectors to prevent any exposed copper.
Fix and adjust: Place the light back into the mounted U-bracket. Before tightening the side screws completely, adjust the light to your desired angle.
Test: Turn the power back on at the circuit breaker and turn on the switch.
If you have any questions or need further assistance during the installation, please feel free to contact us.